Foundation can be our holy grail product, but when the temperatures start to rise, sometimes you just want something a little lighter.
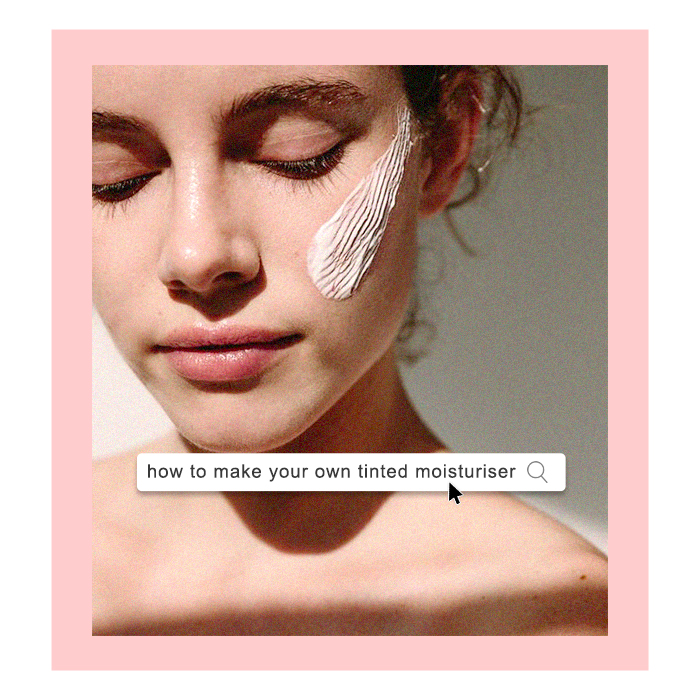
If you’re looking for that ‘no makeup, makeup’ look, whilst providing some breathable coverage, then look no further than tinted moisturiser.
Here’s how to make your own in minutes…
How To Make Your Own Tinted Moisturiser
If you’re like us and have spent all your savings on things you’ve seen on Tiktok, then we’re here to save you some dollar and get makeup savvy.
Keep scrolling to learn how to perfect the DIY tinted moisturiser…
For this you’ll need:
Moisturizer
Foundation (liquid or powder)
1 Mixing Dish or Bowl
1 Blending Brush

STEP ONE
Start by adding equal amounts of moisturiser and your foundation to the mixing dish.
Start off slow. Use just a few drops of each to avoid making too much.
Gradually add more until you have the amount you need to cover your face and neck.
STEP TWO
Blend both products together, make sure there are no clumps and that the two products are well combined.
Test a small amount of the tinted moisturizer on your face with your finger to colour match, if it’s correct then you’re all good to go.
If it’s not quite there, for a lighter shade, add more moisturizer.
To darken or increase the overall coverage, add more foundation.
STEP THREE
Apply the product in light strokes with a blending brush and voila, it’s literally that simple.
Now you’re ready to take the perfect makeup no makeup shot for insta.


